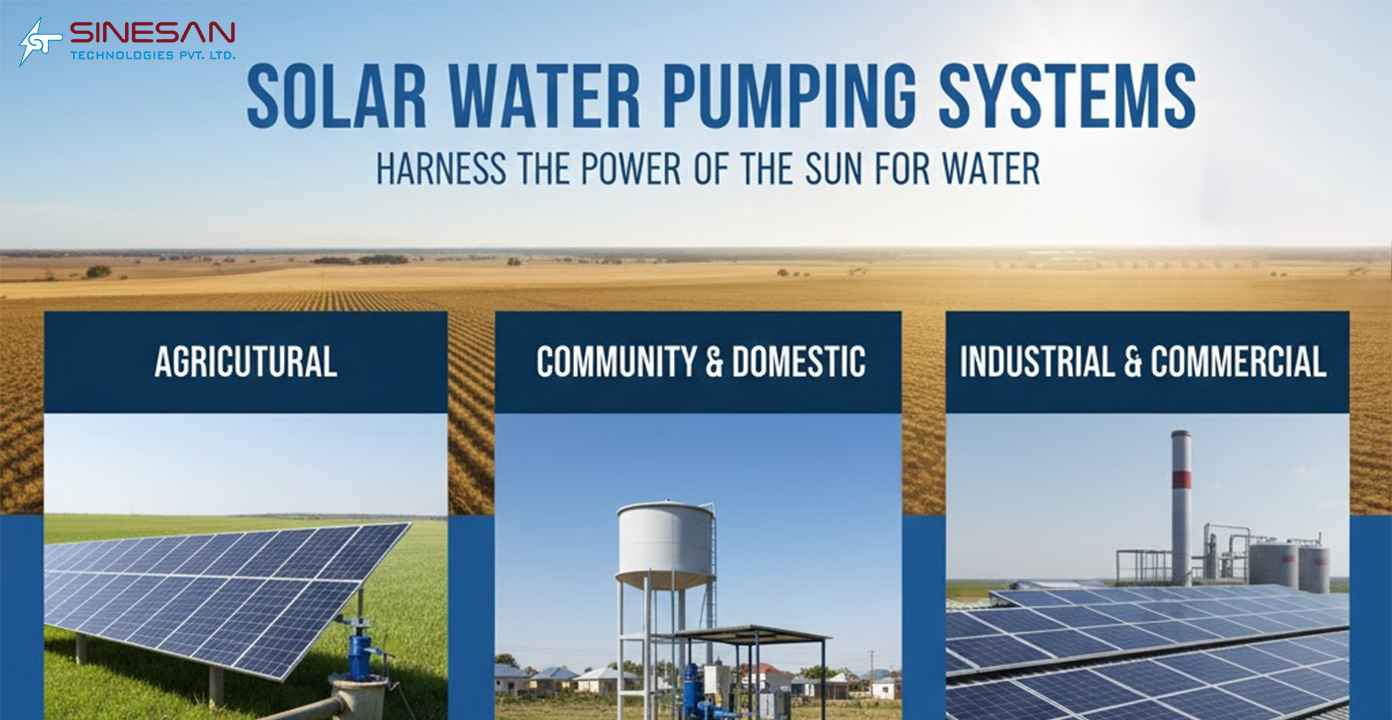
Step-by-Step Guide to Installing Solar Water Pumping Systems
Solar pumping systems are innovative solutions that use solar energy to pump water from wells, rivers, or storage tanks to meet household, garden, or agricultural needs. By harnessing the sun’s power, these systems provide a sustainable alternative to traditional electric or diesel-powered pumps.
Benefits of Using Solar Pumps at Home
- Cost-effective: After the initial investment, solar pumping drastically reduces electricity bills, as sunlight is free and abundant.
- Eco-friendly: Solar pumps generate zero greenhouse gas emissions, helping reduce your carbon footprint.
- Low maintenance: With fewer moving parts compared to conventional pumps, solar systems require minimal upkeep, saving both time and money.
Who This Guide Is For
This guide is ideal for:
- Homeowners looking to automate water supply for gardens, lawns, or household use.
- Farmers who need a reliable, cost-efficient solution for irrigation.
- DIY enthusiasts interested in installing a sustainable water pumping system themselves.
Understanding Solar Pumping Systems
A solar pumping system converts sunlight into electricity to operate water pumps, delivering water from a source to where it’s needed.
Components of a Solar Pumping System
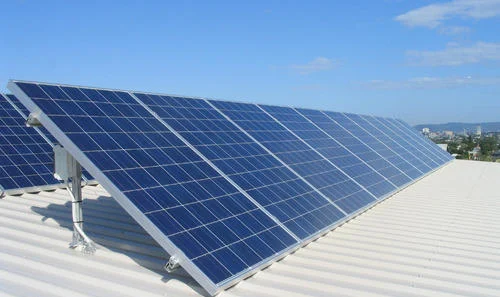
- Solar panels: Capture sunlight and convert it into electrical energy. The number and size depend on your water demand.
- Pump: Available as: Submersible pumps: Installed underwater, ideal for deep wells.
- Surface pumps: Positioned above water, suitable for shallow water sources.
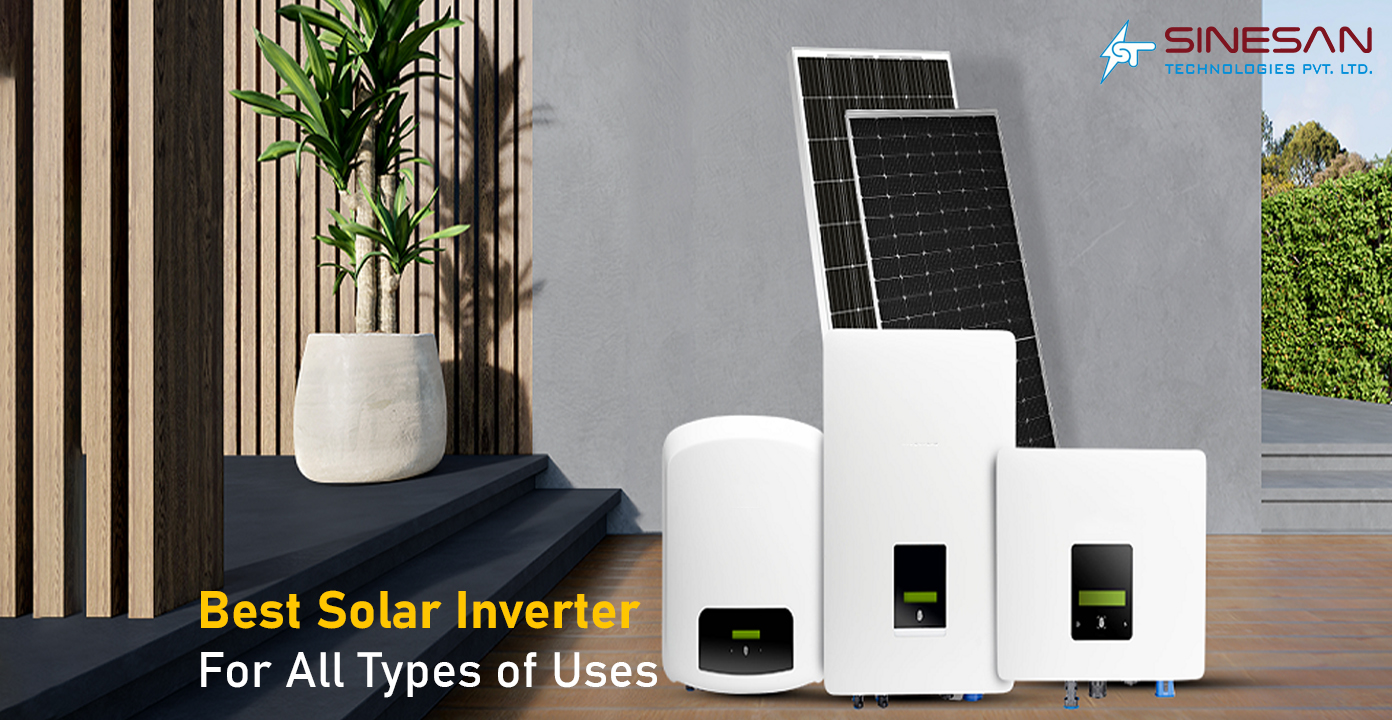
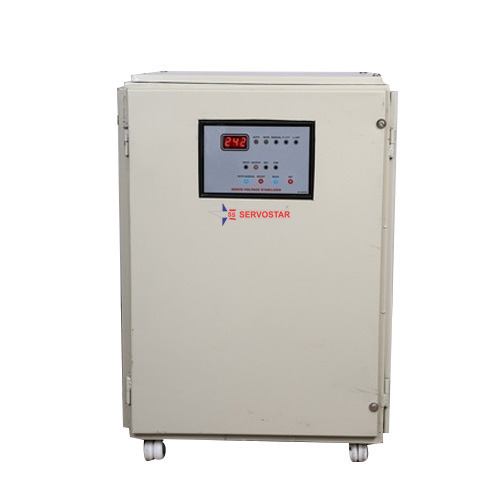
- Controller/Inverter: Regulates the power from solar panels and ensures the pump operates efficiently.
- Water storage tank: Stores pumped water for use when sunlight is insufficient.
- Piping and fittings: Connect the pump to the storage tank or irrigation system, ensuring smooth water flow.
Types of Solar Pumps
- Submersible pumps: Efficient for deep water sources; installed inside the well or borehole.
- Surface pumps: Suitable for shallow water sources or open water bodies like ponds or rivers.
How Solar Pumps Work
- Solar panels generate DC electricity when exposed to sunlight.
- The controller regulates this electricity, optimizing the pump’s performance.
- The pump draws water from the source and transfers it to a storage tank or directly to outlets.
- Water stored in tanks ensures supply during low sunlight periods or at night.
Planning Your Solar Pump Installation
Proper planning ensures efficiency and long-term satisfaction with your solar pumping system.
Assessing Water Requirements
- Calculate daily water usage for household, garden, or irrigation needs.
- Consider storage capacity to ensure uninterrupted supply during cloudy days.
Determining Water Source Depth and Distance
- Measure the depth of the water source (well, borewell, or river).
- Note the distance to the storage tank or point of use. These factors influence pump selection.
Calculating Required Pump Capacity (HP)
- Match pump capacity with water demand and distance.
- Consult pump performance charts to select the correct horsepower (HP) for efficiency.
Choosing the Right Solar Panels and Inverter Size
- Select solar panels capable of generating enough power to meet pump requirements.
- Choose a compatible controller/inverter to ensure smooth operation under varying sunlight conditions.
Budget Estimation
- Include the cost of solar panels, pump, inverter/controller, storage tank, piping, and installation.
- Factor in potential government subsidies for renewable energy systems.
Site Preparation
Proper site preparation is crucial for optimal performance and longevity of your solar pumping system.
Selecting the Best Location for Solar Panels
- Ensure panels face true south (in the northern hemisphere) for maximum sunlight.
- Set panels at the correct tilt angle based on local latitude to capture maximum solar energy.
- Avoid shading from trees, buildings, or other obstacles.
Preparing the Pump Site
- Dig borewells or trenches for submersible pumps as required.
- Position storage tanks on elevated platforms for gravity-fed distribution, if possible.
- Ensure proper drainage around the site to prevent waterlogging and equipment damage.
Ensuring Safety
- Use protective enclosures for electrical components to prevent accidents.
- Install proper earthing to avoid electrical hazards.
- Keep the area around the pump clean and accessible for maintenance.
Step-by-Step Installation Process
Installing a solar pumping system may seem daunting, but following a structured process ensures efficiency and safety. Here’s a detailed step-by-step guide.
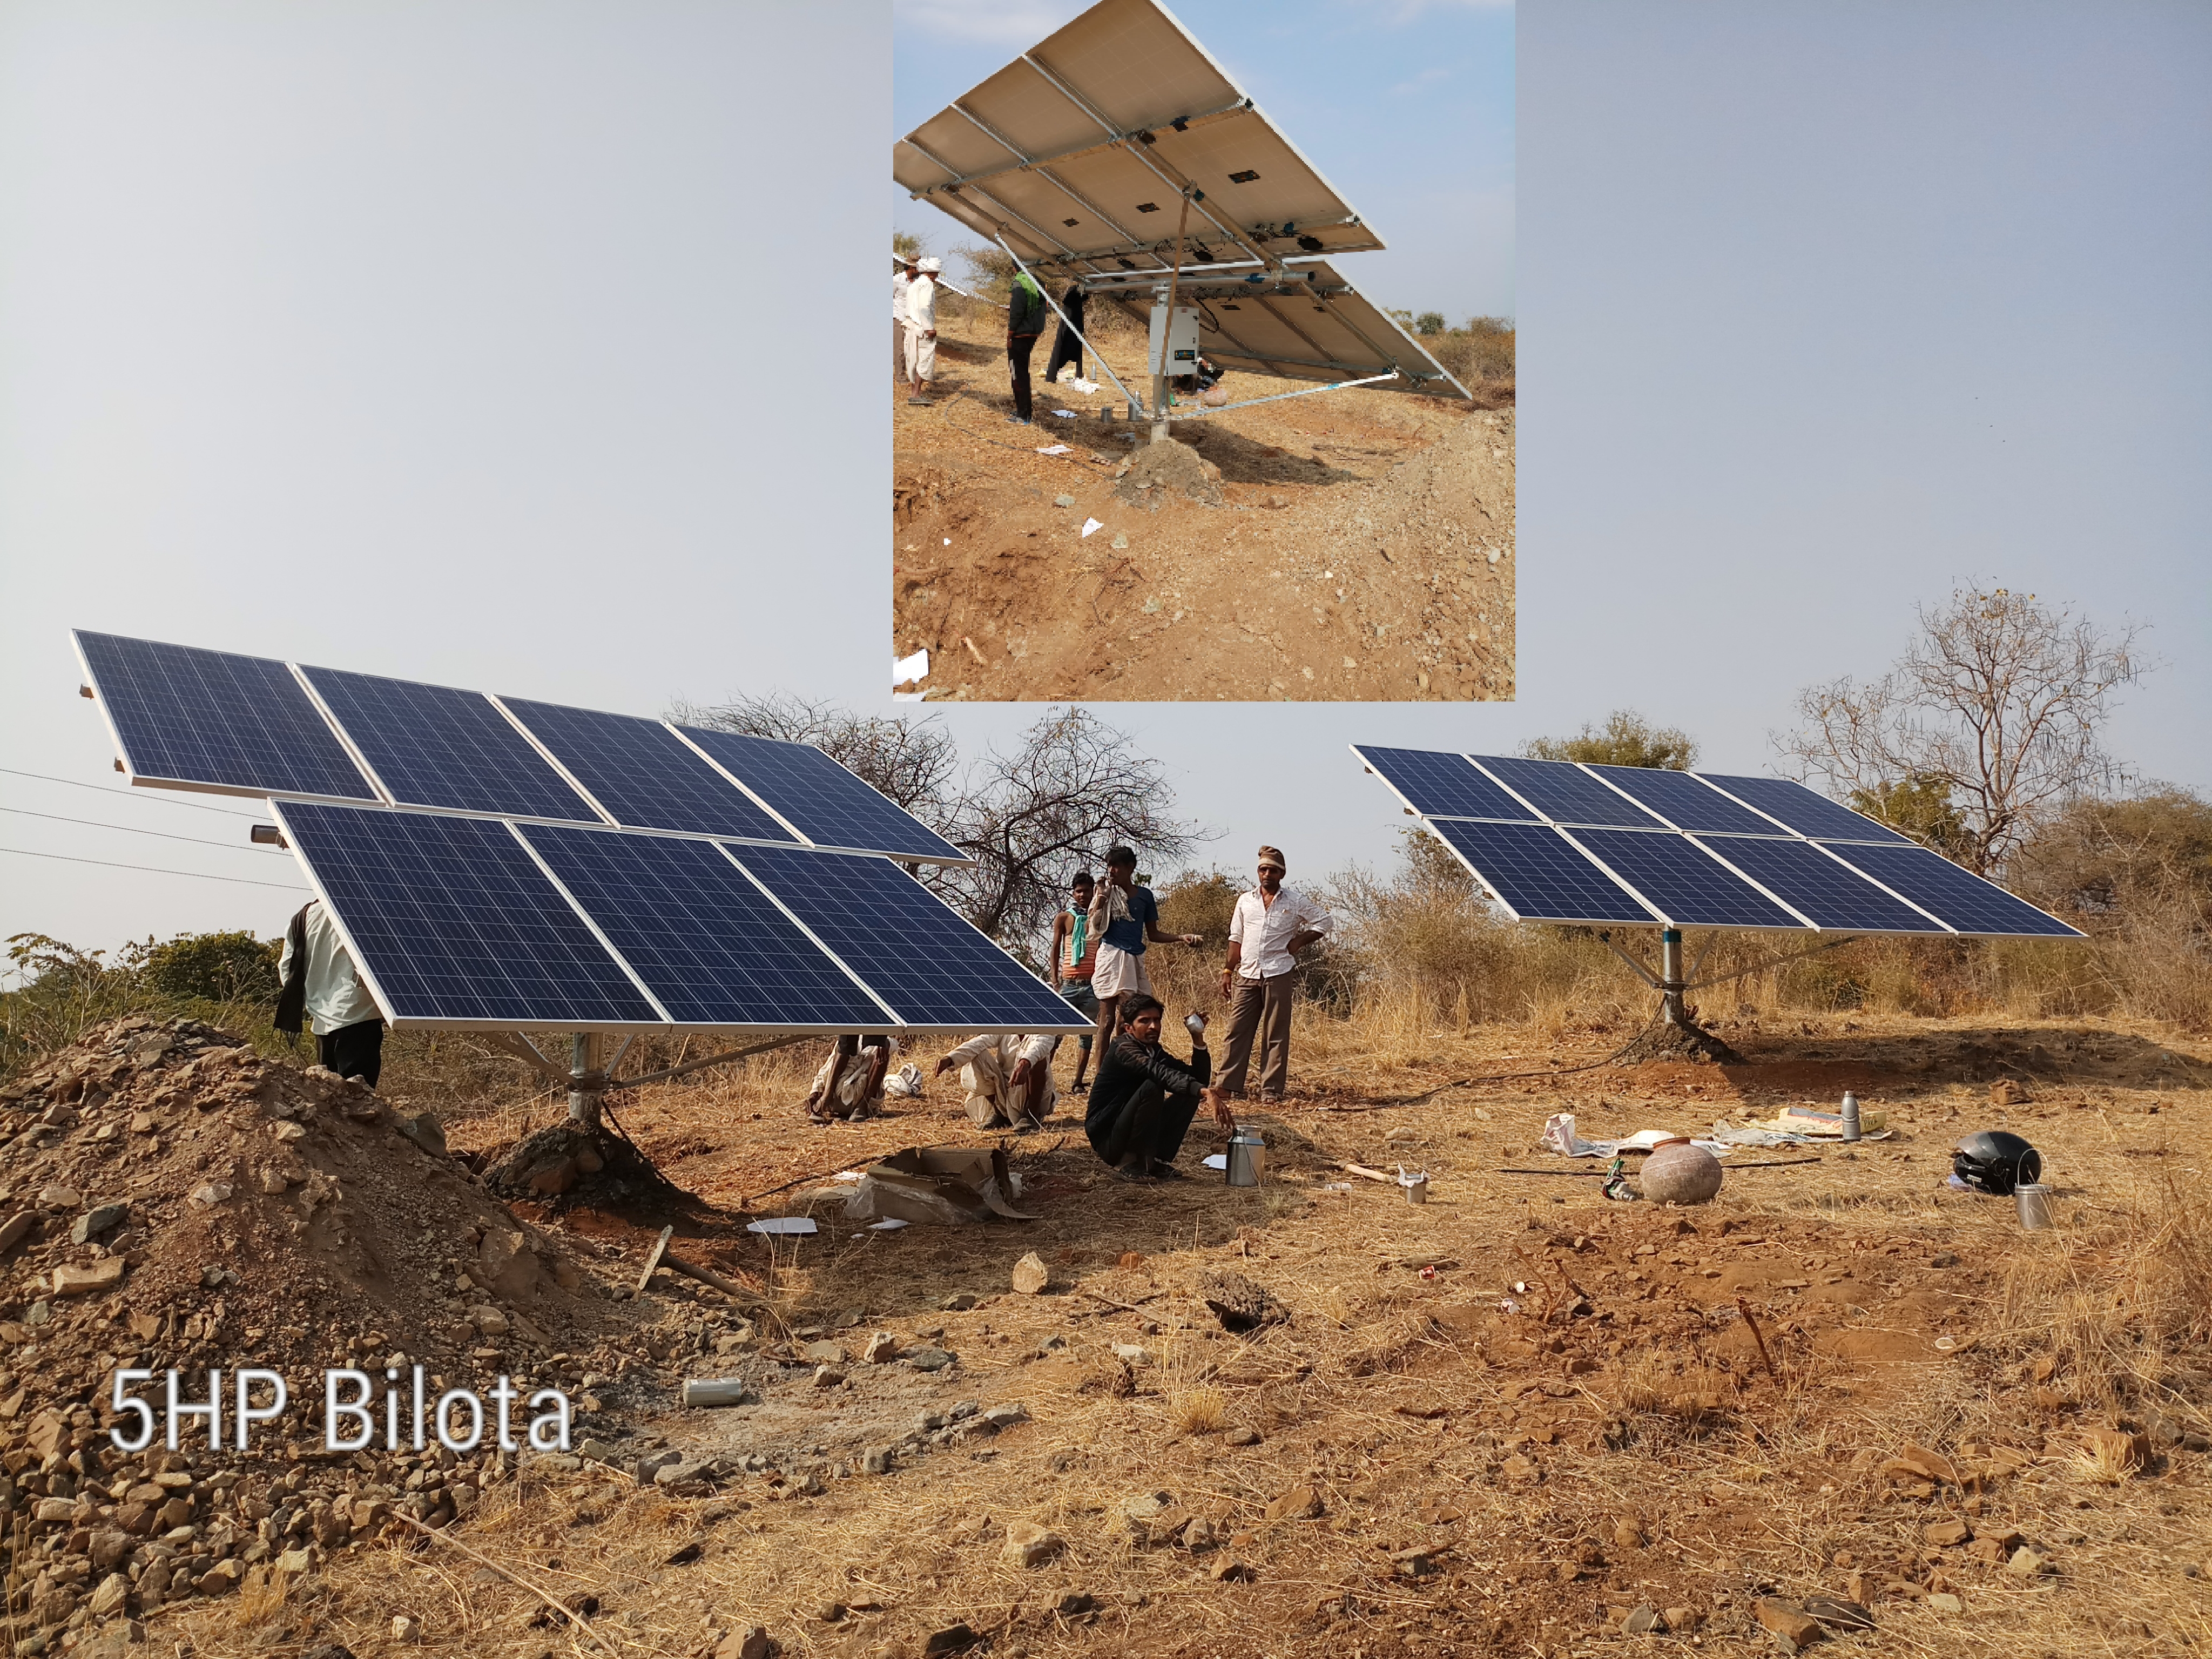
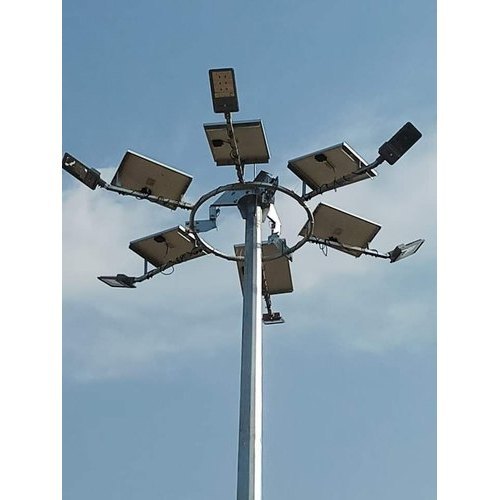
Step 1: Mounting the Solar Panels
Tools and Materials Needed:
- Solar panels
- Mounting brackets and frames
- Screws, nuts, and bolts
- Screwdriver, wrench, and drill
- Level tool
- Safety harness (if installing on a roof)
Step-by-Step Mounting Process:
- Choose a location that receives direct sunlight for at least 6–8 hours daily.
- Assemble the mounting structure according to the manufacturer’s instructions.
- Securely fix the solar panels to the frame using bolts and clamps.
- Adjust the tilt angle based on your location’s latitude for maximum solar capture.
- Use a level tool to ensure panels are perfectly aligned to prevent uneven stress.
Wiring Considerations:
- Use UV-resistant, outdoor-grade cables.
- Keep cable lengths minimal to reduce power loss.
- Avoid sharp bends and secure cables with clamps to prevent wear.
Step 2: Installing the Pump
Submersible vs Surface Pump Installation:
- Submersible pump: Lowered directly into the water source. Ensure the pump is fully submerged and suspended slightly above the bottom to prevent sand or debris suction.
- Surface pump: Positioned near the water source, connected to suction and delivery pipes. Keep the pump above potential water levels to avoid flooding.
Positioning the Pump in Water Source:
- For submersible pumps, check the water depth and ensure the pump is vertical and stable.
- For surface pumps, place on a flat, stable platform.
Connecting to Piping:
- Use appropriate pipe size to match the pump output.
- Ensure all joints are tight to prevent leaks.
- Include valves for easy maintenance and flow control.
Step 3: Connecting the Controller / Inverter
Wiring Solar Panels to Inverter/Controller:
- Connect positive and negative wires from solar panels to the controller.
- Follow polarity instructions carefully to prevent damage.
Connecting Pump to Inverter/Controller:
- Match the pump’s voltage and current specifications with the controller output.
- Secure all connections and use insulated terminals to avoid short circuits.
Ensuring Proper Grounding and Safety:
- Install earthing rods for the inverter, pump, and panels.
- Use surge protectors to protect equipment from lightning or voltage spikes.
- Avoid installing electrical components near water sources.
Step 4: Water Storage and Piping Setup
Installing Storage Tanks:
- Place tanks on an elevated platform for gravity-fed water supply.
- Use non-toxic, UV-resistant tanks for safety and durability.
Connecting Pipes and Valves:
- Connect delivery pipes from pump to the tank.
- Install valves for flow regulation and emergency shut-off.
- Use elbow joints and reducers carefully to avoid unnecessary pressure loss.
Testing Water Flow and Pressure:
- Turn on the pump and check for smooth water flow.
- Measure pressure at different outlets to ensure consistency.
- Adjust valves if required to balance pressure.
Step 5: Final Testing and Commissioning
Running the System for the First Time:
- Switch on the solar pump during peak sunlight hours.
- Monitor water flow, voltage, and current readings.
Checking for Leaks, Voltage Fluctuations, and Panel Alignment:
- Inspect all piping connections for leaks.
- Ensure solar panels are still properly aligned with the sun.
- Watch for irregular voltage or inverter alarms.
Troubleshooting Common Issues:
- No water flow: Check pump priming and connections.
- Low pressure: Inspect pipe blockages or pump capacity mismatch.
- Inverter faults: Verify wiring and solar panel output.
Maintenance Tips for Longevity
- Cleaning solar panels regularly: Remove dust, leaves, and bird droppings to maintain efficiency.
- Checking wiring and connections: Inspect for corrosion, loose terminals, or frayed cables.
- Lubricating pumps (if required): Some surface pumps may require occasional lubrication.
- Seasonal adjustments and inspections:
- Tilt panels based on seasonal sun angle changes.
- Inspect storage tanks, valves, and pipes for wear or leaks.
Cost and ROI Analysis
Approximate Cost of Installation at Home:
- Solar panels: ₹25,000–₹50,000 (depending on capacity)
- Pump: ₹10,000–₹40,000 (based on HP and type)
- Controller/Inverter: ₹5,000–₹15,000
- Piping, storage, and installation: ₹10,000–₹25,000
These are approx prices; they may change based on the need of your requirements.
Savings on Electricity Bills:
- Solar pumps can save 100% of electricity cost for water pumping.
- Long-term savings increase with higher water usage.
Payback Period and Long-Term Benefits:
- Typical payback: 3–5 years, depending on pump capacity and sunlight availability.
- After payback, water pumping is nearly free with minimal maintenance costs.
Common Mistakes to Avoid
- Oversizing or undersizing the pump: Leads to inefficient operation or wasted resources.
- Improper panel tilt or orientation: Reduces energy generation and water output.
- Ignoring maintenance schedules: Dusty panels, corroded wiring, or blocked pipes reduce system lifespan.
- Poor storage tank placement: Low-elevation tanks reduce gravity-fed flow efficiency.
Solar water pumps are a cost-effective, eco-friendly, and low-maintenance solution for a reliable water supply at home or on farms. By carefully planning and installing your system, you can enjoy sustainable water pumping for years.
Take action: If unsure about installation or electrical connections, consult certified solar pump installers to ensure safety and efficiency.
Q1: Can I install a solar water pump myself?
Yes, DIY installation is possible if you have basic electrical and plumbing skills. However, professional guidance is recommended for safety and efficiency.
Q2: How much water can a 1HP solar pump deliver?
A 1HP solar pump typically delivers 3,000–5,000 liters per hour, depending on water depth, pipe length, and sunlight availability.
Q3: What is the lifespan of a solar pumping system?
Solar panels last 20–25 years, while pumps and inverters usually last 10–15 years with proper maintenance.
Q4: Do solar pumps work on cloudy days?
Yes, but output decreases on cloudy days. Storage tanks can help ensure water supply during low sunlight periods.